 |
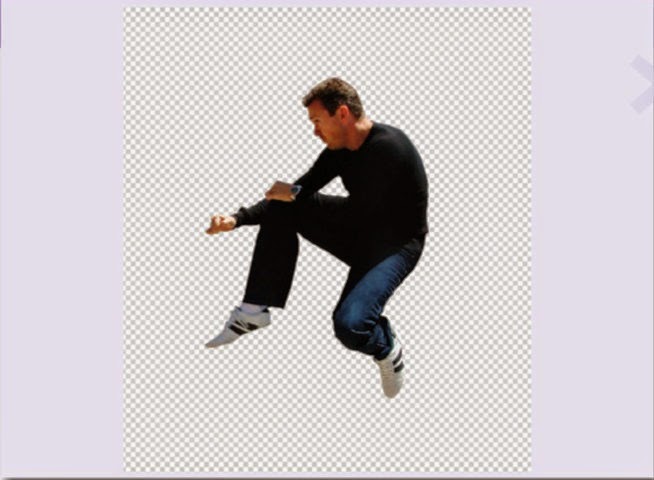
| STEP 1 |
To start, double click on the Background layer so that it is open to editing. Then use the Pen tool to select the main character.
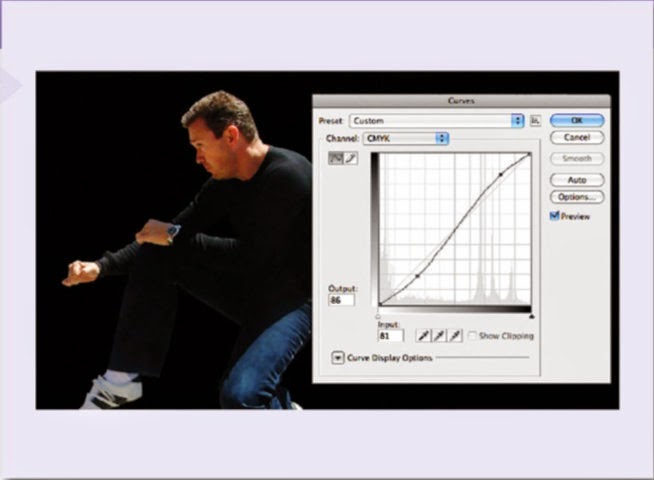 |
| STEP 2 |
Create a new layer and paint it black. Then, to give more light and a little more contrast to the face, adjust the main character curves (Image > Adjustments > Curves).
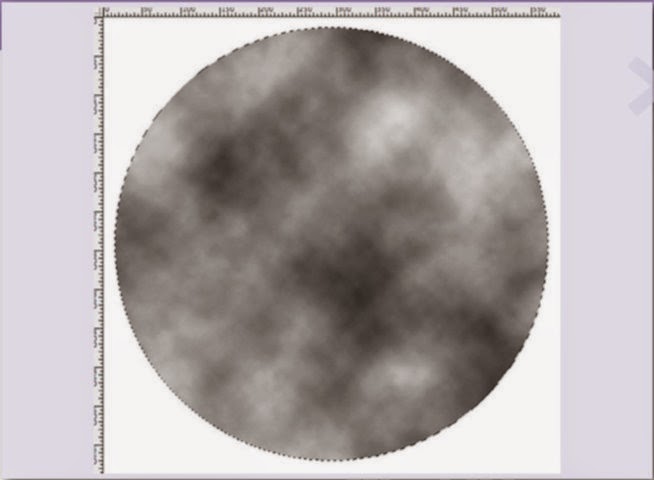 |
| STEP 3 |
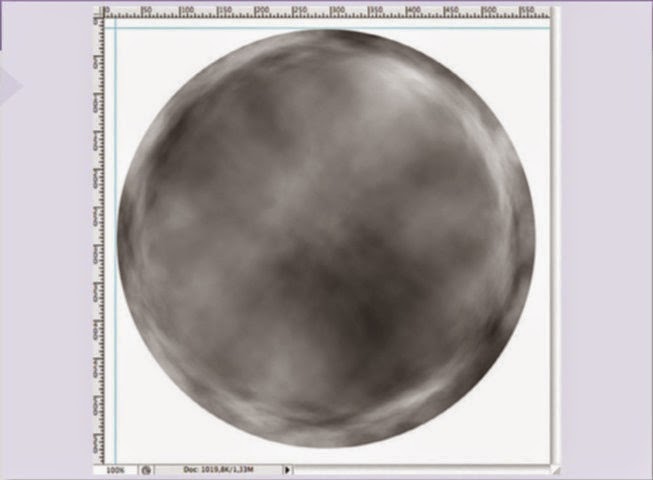
The existing document is at 300 dpi resolution, so I created a new document sized at 650 x 650 at 100 dpi. Create a new layer and then a circular mask.
 |
| STEP 4 |
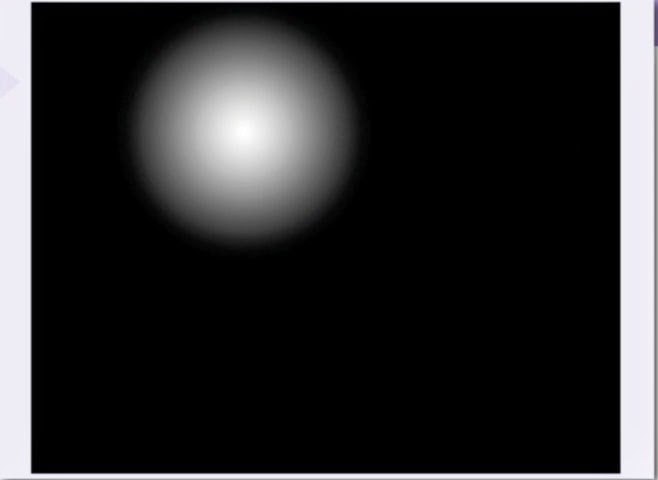
Next, create some clouds in this selection byclicking Filter > Render > Clouds.
 |
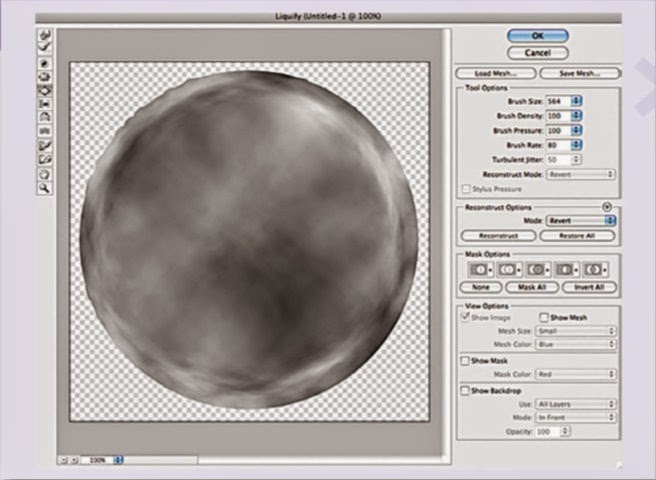
| STEP 5 |
Apply the Liquify filter by pressing Filter > Liquify. Adjust the settings to Brush Size 600, Brush Density 100, Brush Pressure 100. Then select the tool Bloated.
 |
| STEP 6 |
Now apply the effect to the centre of the circle, using three or four clicks to achieve the desired circular effect.
 |
| STEP 7 |
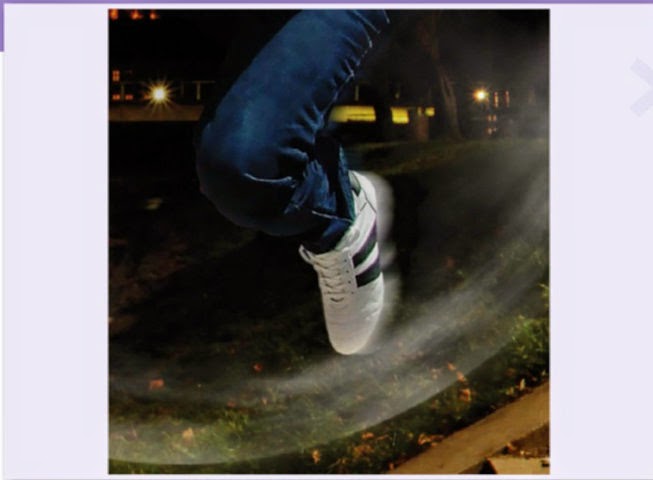
Create a circular mask around the force field. Select Inverse and then delete the outside so that we end up with a perfect circle.
 |
| STEP 8 |
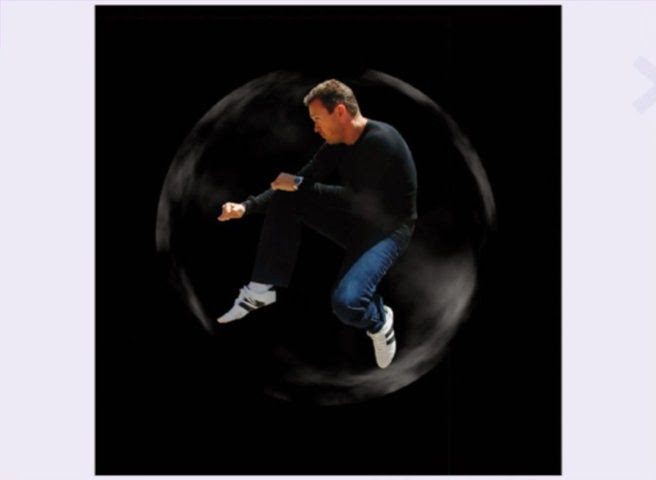
Drag this layer to the original document and grow it to fit around the main character. Name this layer Force Field and set its blending mode to hard light 56%.
 |
| STEP 9 |
Duplicate the layer, flip it around 45 degrees and this time adjust the blending mode to pin light, 47%
 |
| STEP 10 |
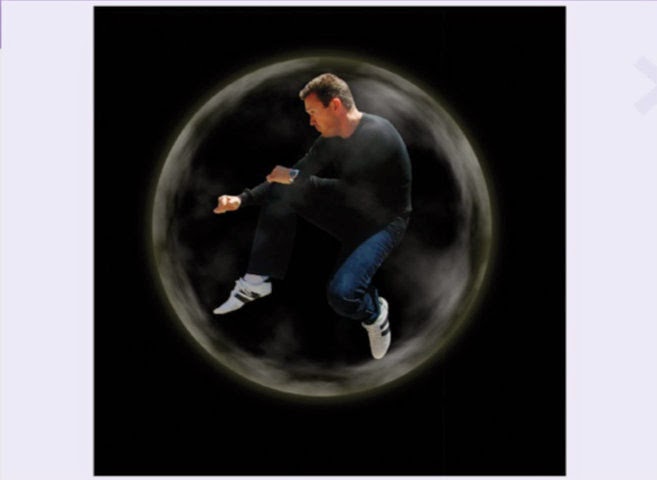
To this layer apply Outer Glow at a size of 114px and opacity of 35%. Also apply Inner Glow at a size of 210px and opacity of 41% .
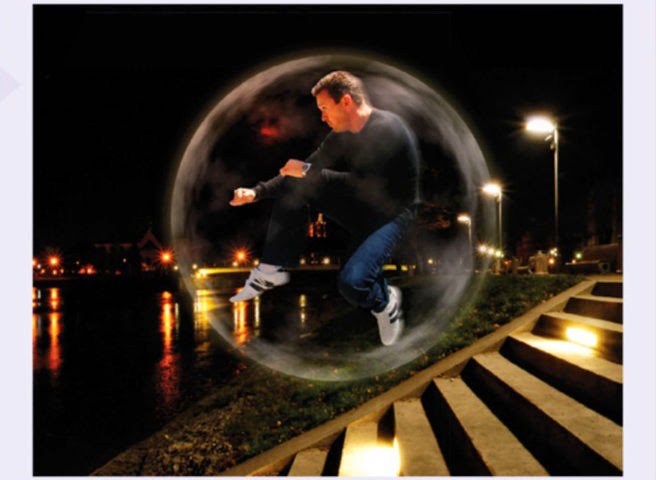 |
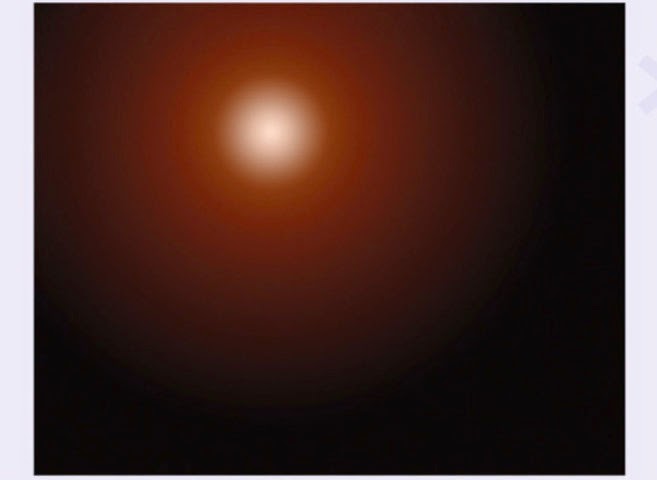
| STEP 11 |
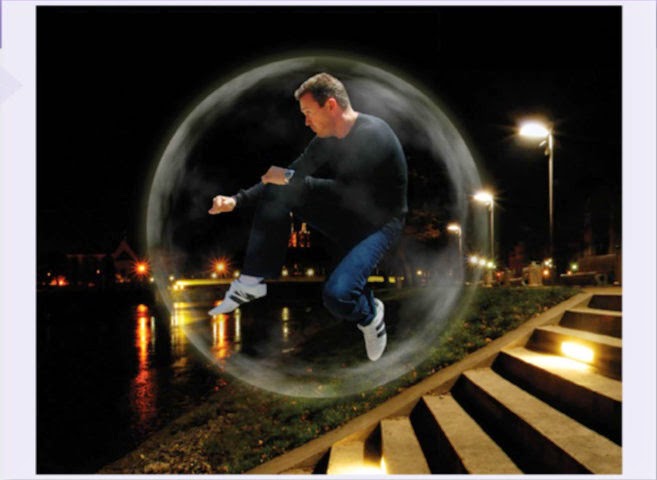
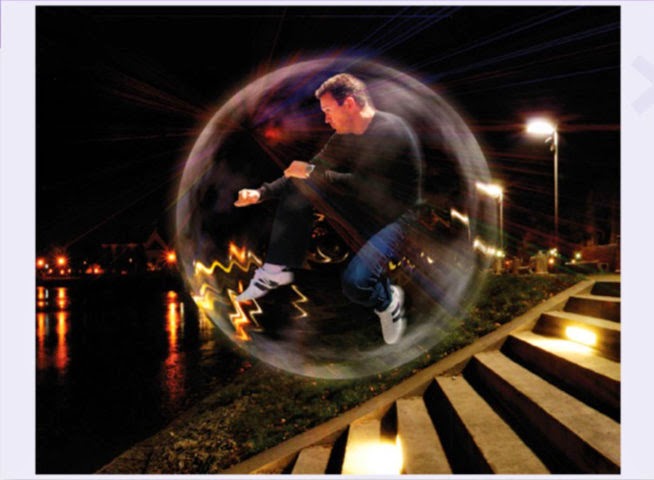
Select a background that suits the image – I used a city at night that can be found at http://www.sxc.hu/browse. phtml?f=download&id=1250263. It is very important to verify that the light of the background coincides with the main character’s illumination. Create a new layer above the other layers and paint it with a radial gradient. The lighter parts will be where we want more lighting; to create a more dramatic and warm illumination, I used a copper colour. Also, to lend the image some movement, duplicate the main character layer and place it behind the original, then apply motion blur of 0 degrees and 42% intensity.
 |
| STEP 12 |
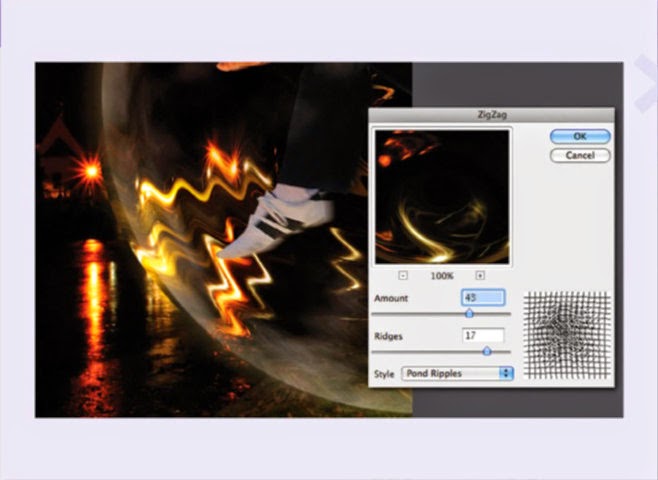
Set blending mode to colour dodge 30%. You can see that I’ve applied some distortion to the background through the force field – I did this by making a circular mask of the exact size of the force field and copying that portion of the background. This layer must be just above the bottom layer (the city background) and below the force field. I next applied the Filter > Distort > Zigzag effect with Intensity 43 and Ridges 17
 |
| STEP 13 |
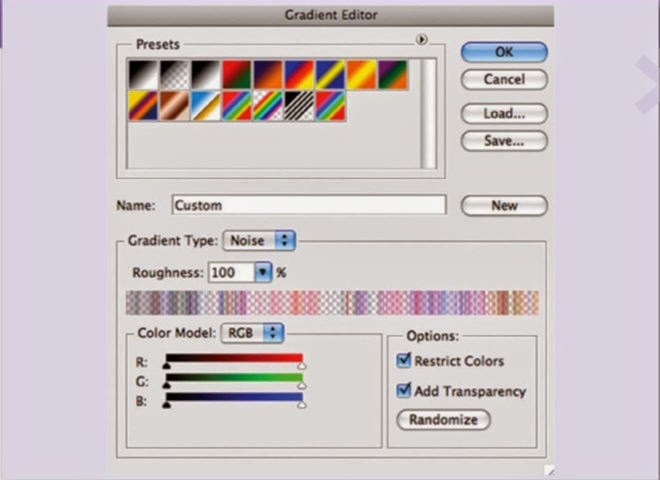
Create a new layer and place it above the rest. We are going to fill this with a gradient so go to Gradient Editor and adjust as follows: Gradient Type - Noise: Roughness - 100%; Color Model - RGB; Options - Restrict Colors & Add Transparency.
 |
| STEP 14 |
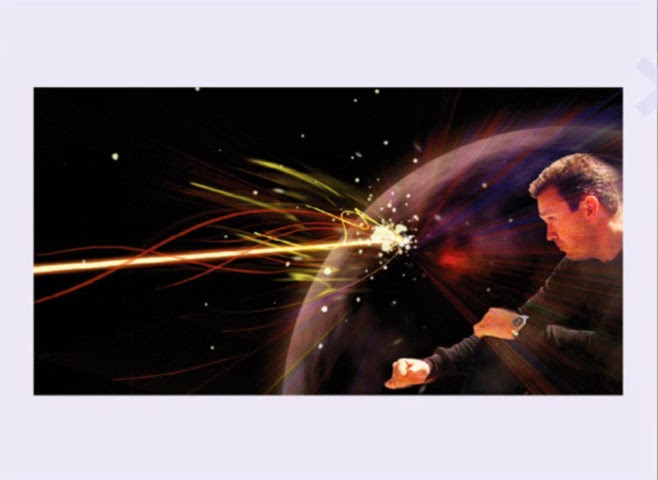
Now you need to paint the layer using the gradient angle. Start at where you want the light beam to strike.
 |
| STEP 15 |
Set the blending mode to Colour Dodge at 51%. Erase the more remote areas of the centre, leaving only the central area of the rays.
 |
| STEP 16 |
For our last effect, we need some Photoshop brushes to recreate the impact of the lightning. You can download these at http://Axeraider70. deviantart.com/art/Odysee-Brushes-50870957.
 |
| STEP 17 |
Once you have the brushes, apply a touch of them in the lightning’s area of impact. Use different colour brushes for different effects: for the impact zone choose white and for the beam use oranges and yellows.
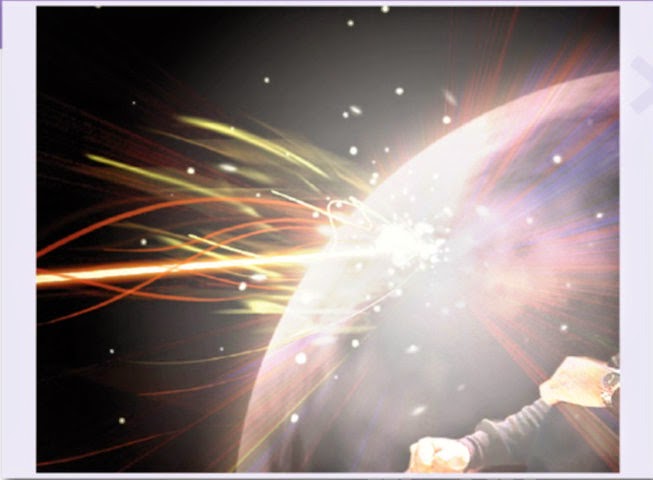 |
| STEP 18 |
The final touch is to increase the brightness of impact. Here you just need to create a new layer and paint it with a radial gradient that has a little white at the impact point with the rest in black. Set the blending mode to Linear Dodge (add) 90% and that’s it.


Super tutorial! Thanks to the author.
ReplyDelete