 |
| Cutting the model |
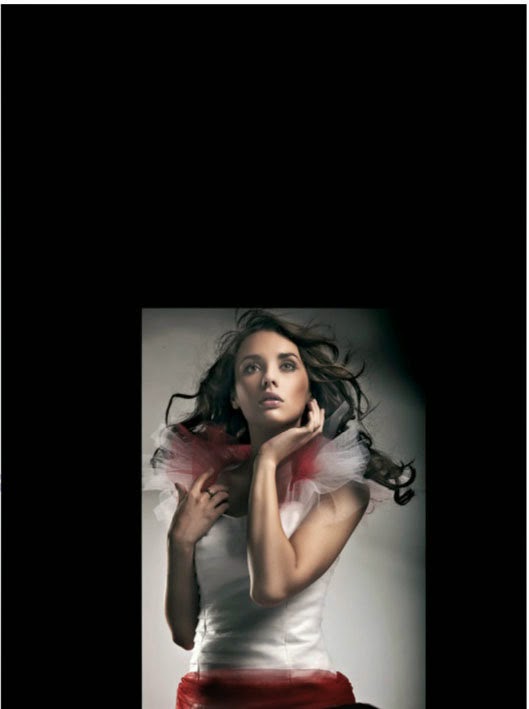
Start a new document with the size of 33x24 portrait cm with 300DPI. Now we are going to cut out the model with the Pen Tool.
 |
| Contrast and light |
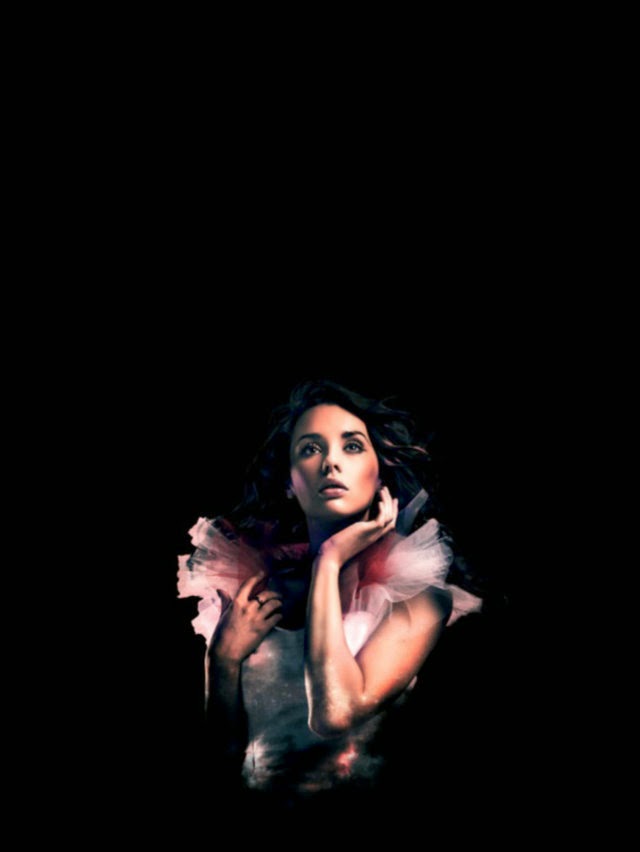
Once the model is cut out, start to add more contrast and light. There are different ways to do that, but I used the curve and exposure adjustments. The next thing I did was blend the bottom part of the model into the background by using the Brush Tool and set it on Overlay Mode. On the model’s face I added some pink blush and added some highlights in her hair.
 |
| Pyramids |
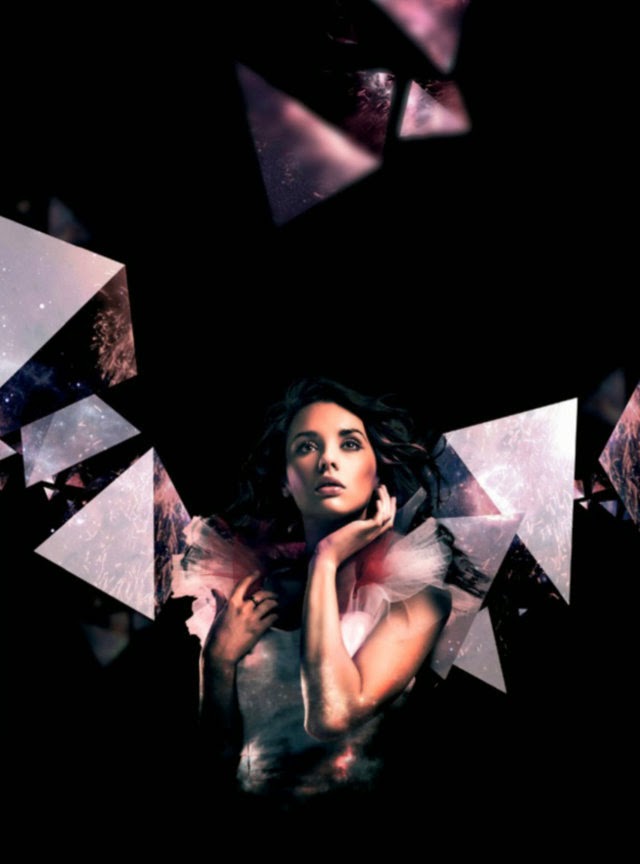
Now it’s time to add the pyramids around the model. I made the pyramids in cinema 4D and added effects in Photoshop. I placed different textures over each and set them on Overlay Mode. You can experiment with any texture you want. I also blurred a couple of pyramids for more depth (I used Gaussian Blur).
 |
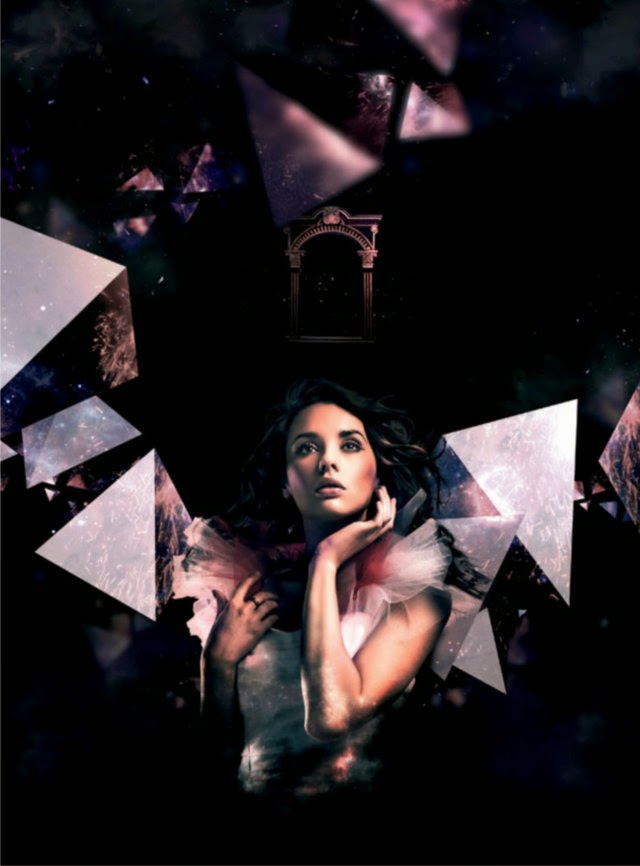
| Arch |
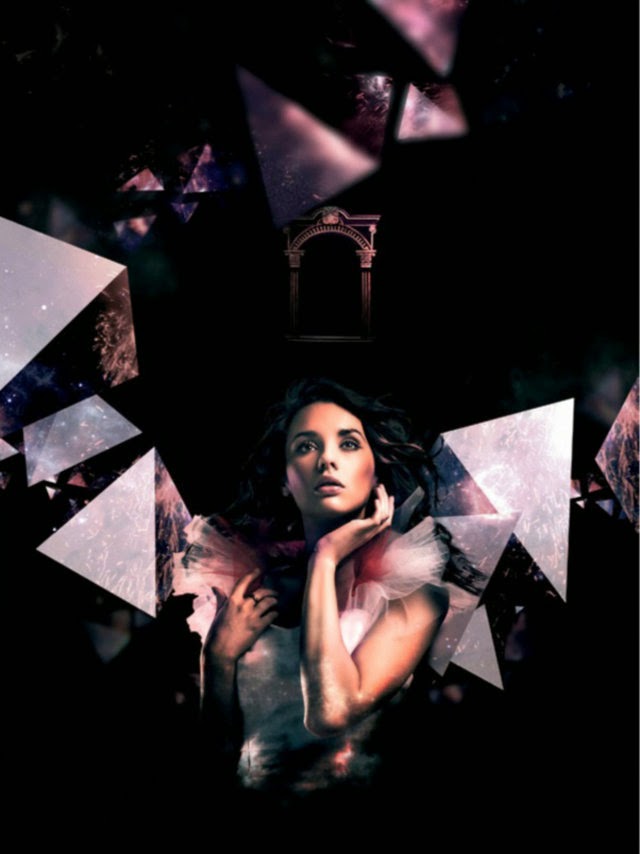
In this step I added the arch. Cut out the arch and adjust the contrast and lights by using the curve or exposure.
 |
| Dust and stars |
In this step I added dust and stars. I made the stars with the Brush Tool and added outerglow. The dust is made with a purple soft brush with 8% opacity.
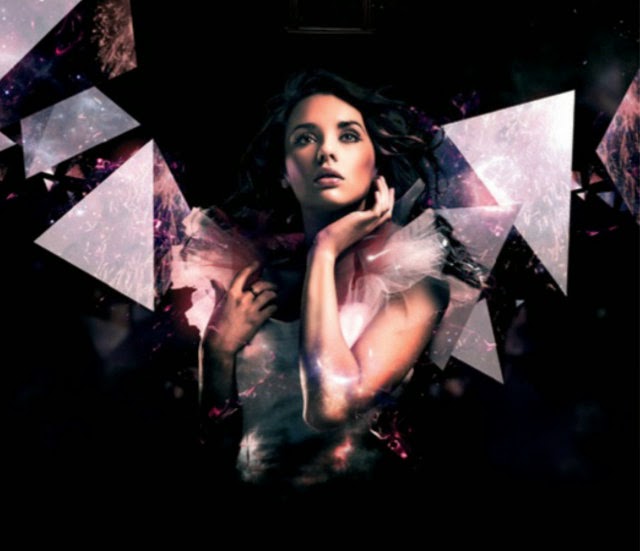 |
| Light effects |
In this step I added light effects around the model, made in cinema 4D. Most of the time I set the mode to screen.
 |
| Additional light |
In this step I added more particles and tiny lights/stars, the samway as step 5. I also added some highlights to the pyramids abher head. Make a selection and then use a soft white brush.
 |
| Purple lights |
In this step I added purple lights. I used a soft purple brush to do this and set the layer to Screen Mode with 70% opacity.
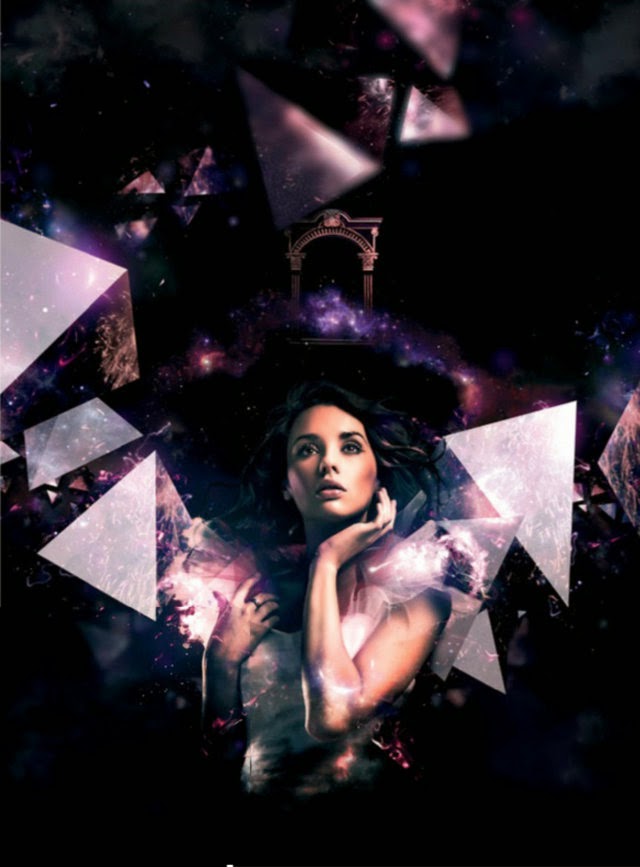 |
| Cosmos |
Now we are going to add the cosmos in the background. The cosmos I used is a stock photo. Make a mask on the cosmos stock photo and inverse that mask by pressing Ctrl + I (cmd + I on a Mac). Get a soft brush and set the colour to white and start to brush on the mask.
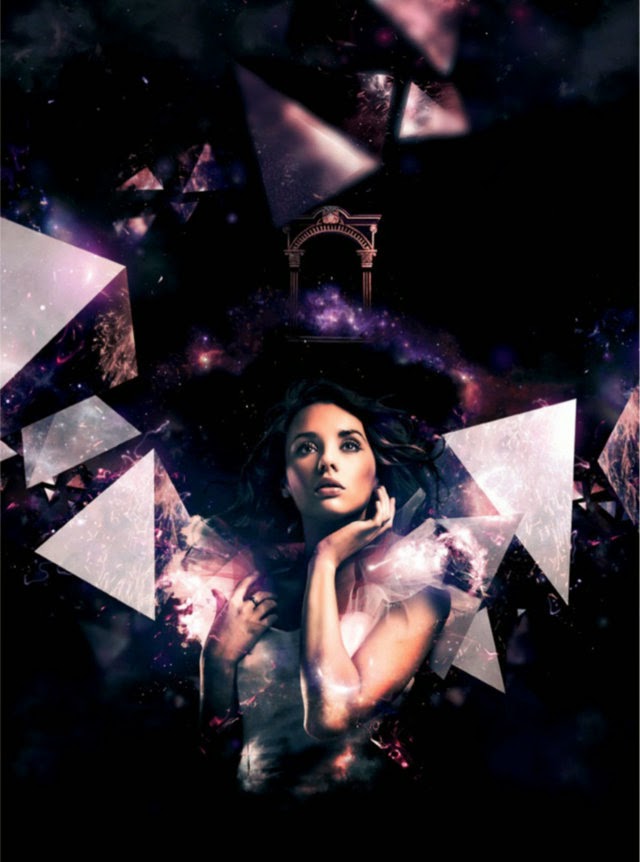 |
| Final |
In this last step, I added an adjustment layer otop of all layers. I chose the curve and added more blue and magenta. I also added one layewith clouds on top of all layers. I did that using Filter > Render > Clouds and set it on overlay with 40% opacity.


0 comments: